Thursday, February 3, 2011

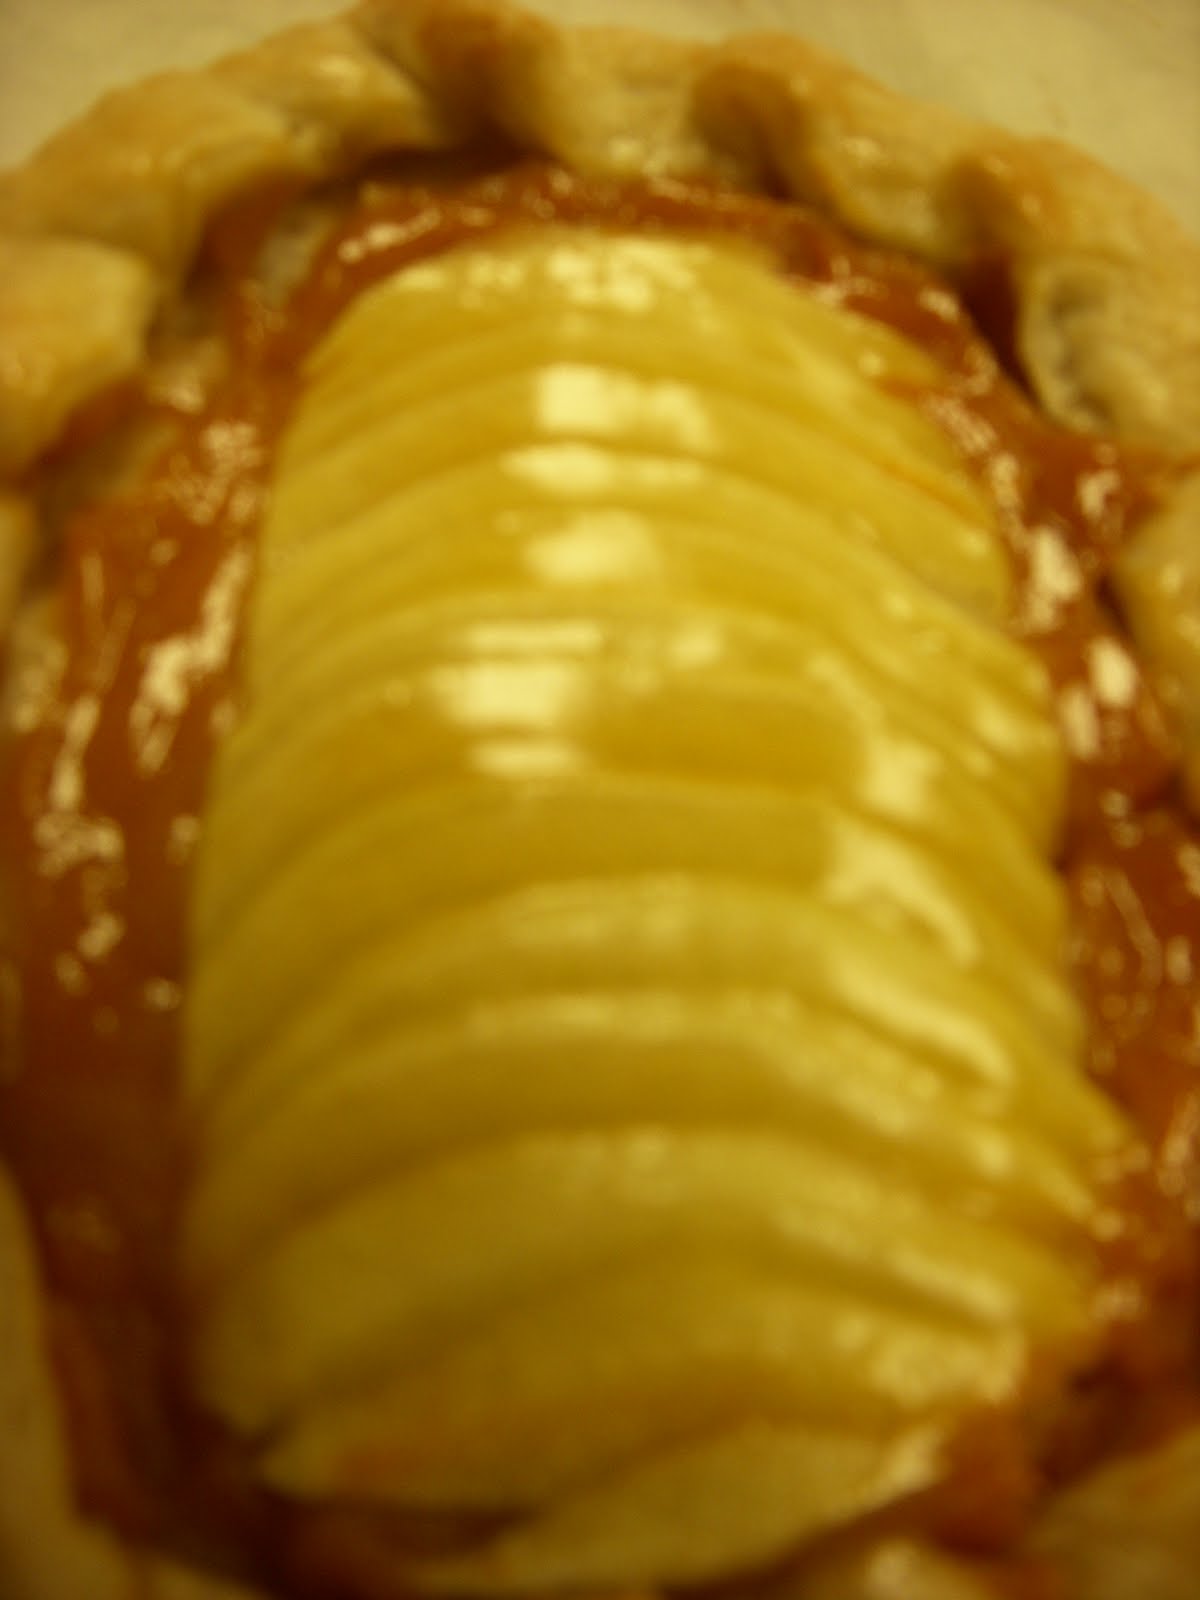
Sweet Potato Butter & Apple Galette

During Monday's Jams & Jellies class, we first worked on homemade apple pectin. We did this by quartering apples, including the peels and cores, and bringing them to a boil with water and lemon juice. When the apples broke down, we strained them to save the liquids. We then set up a jarring station, and followed the steps for sanitizing jars and then filling them appropriately with the homemade apple pectin. The hope is that we can use this natural pectin in future recipes.


We then made sweet potato butter, using a similar process as last week's apple butter. We first baked the sweet potatoes until they were soft, and then we pureed them. We added the necessary spices and cooked the butter until the appropriate texture and color.

Finally, we prepared a cornmeal galette dough. This is similar to any type of pie or tart dough. A galette is a free formed tart. We cut the dough into circles, spread on sweet potato butter and finally placed sliced apples on topped. These were baked and finished with an glaze made from apricot marmalade.


Monday, January 31, 2011

Experimental Frozen Treats

I'm really happy to share with you that through the generosity of some Christmas gifts, I am now fully equipped to experiment with ice cream, gelato, sorbet, and sherbert at home. My Aunt and Uncle purchased for me "The Perfect Scoop" by David Lebovitz who is one of my favorite pastry chefs - he has a variety of books and he's an avid blogger which I follow on a weekly basis:


Through some monetary gifts, I purchased an Italian Gelato Machine (which was engineered in Italy but sadly manufactured in China). It came with a book full of recipes as well. What's great about this machine, and why I chose this model, is because it has a self-refrigerating compressor; therefore, I do not have to pre-freeze bowls like many machines requires. It also means I can make batches of frozen goodness back to back. These qualities, and the quality of the brand, made spending extra dollars well worth it.

Over the weekend, I made a batch of Vanilla Bean Ice Cream, with the recipe from The Perfect Scoop. What I like about David's cookbook is that he gives recipes that are French style (custard-based, from egg yolks which results in a richer, creamier product) as well as Philadelphia style (no eggs so a bit firmer). For this, I made the French style because I wanted to practice making custard. It was worth it. The recipe results in an extremely delicious product. I am so excited for my new at-home abilities to experiment with frozen delights!

Classical Petit Fours

In Friday's Petit Fours class, we worked on a variety of classical petit fours. We began by making two different base cakes which would be used for different applications. The first base cake was called Petit Fours Glaces Biscuit and it was used in three applications.

The first application was in Petit Fours Glaces, much like the Fondant Fancies I made with Gilly last week. We brushed the bottom cake layer with simple syrup, layered on buttercream, another cake layer with simple syrup, and a layer of marzipan. After having time to set up in the refrigerator, we cut these into 1 inch squares.

The second application was in Dome de Petit Fours Glaces, and again a similar process. We cut out circles of cake from one of the layers, and then piped gran marnier flavored buttercream. These were then placed in the refrigerator to set up.


The next step was to place poured fondant over the top of each petit four. We'll finish these next week so I'll show you the final results.

The third application was to make Petit Four Glaces Pyramide. For this, we cut the cake layer into strips, and then piped three lines of buttercream (chocolate, vanilla, and raspberry).


After these had time to set up, they were glazed in chocolate:


The fourth product is an Opera Cake. We started by making an almond flavored cake base, which was cut into four pieces. Opera Cakes are known for having many even layers. From the bottom up, this cake was: cake layer, coffee flavored simple syrup, chocolate ganache, cake layer, coffee flavored simple syrup, coffee buttercream, cake layer, coffee flavored simple syrup, vanilla buttercream, cake layer, simple syrup. After this had time to set up, a chocolate glaze was placed on top. This cake will be cut into diamond shaped pieces, which we'll also do next week.

I'll be sure to take lots of pictures of these finished products.

Sunday, January 30, 2011

Sponge Cakes

In Tuesday's Advanced Bakeshop class, we focused on different sponge cakes which we'll use in applications at some other point. We made a chocolate pistachio cake, a flourless chocolate cake, and a joconde with decor paste. The most interesting of these was the last. Decor paste is made from butter, sugar, egg whites, and pastry flour, and can be colored or flavored in multiple ways. We made chocolate decor paste, which we spread thinly onto a silpat and them used a comb to create a patterned design. This was placed in the freezer to set up, and later the joconde batter was poured over the top. This is what it looks like after baking:


We also made lady fingers. Each of these recipes will be used in the future, so I'm sure there will be more interesting things to come.

Pralines

In my Tuesday morning class, we made a variety of pralines. Using milk chocolate, we mass produced almond pralines, cashew pralines, and peanut pralines. It was a vital lesson in the production of nut clusters.

For each, we toasted the nuts first to bring out their natural flavors. We then coated them in a sugar syrup to help sweeten them. After tempering chocolate, we coated all of the nuts with chocolate and then had to work quickly as a group to portion out the nut clusters on various sheet pans.

Our last task for the day was to make Paillette Feuilletines. These are a similar process to nut clusters but are made from a wheat wafer that is broken into pieces. Alone, these wafers taste a bit to me like an ice cream cone.

This class is a serious lesson in production. Over the past two weeks, we've worked in groups to mass produce a large quantity of these chocolate products, which are used at campus events or sold at the weekly retail bake sale. This class really forces me to work quickly and efficiently all the time. And for whatever reason, we are always scrambling around at the end of the day to clean up and put the product away. I again failed to take a minute to snap some photos so hopefully this week I can do so.

Raspberry Jam & Apple Butter

On Monday, I had my first class in Jams, Jellies, Chutneys and Tarts. I'm really excited about this class because I don't have any experience in making jam, jelly, marmalade, etc, and I think it's a pretty fascinating process. And I'll soon have a lot of use for the Ball jars my parents have had for years, when they used to jar tomatoes for sauces and stews.

During class, we made a few different types of raspberry jam, some with seeds and some without. For this we used individually quick frozen raspberries; IQF products are great because the fruit is frozen at a point of ripeness, so flavor is actually really really good. We first heated the raspberries to soften them, and next pushed the raspberries through a sieve to remove the seeds. We returned the raspberries to the pot and added in sugar, liquid pectin, and a small nip of butter. Pectin is the natural gelling agent found in fruits; some fruits have more pectin than others. Pectin is a vital component in this process. The small nib of butter was used in attempts to reduce the amount of foam that rises to the surface during the cooking process.

AS the jam had a chance to set up, we started to make apple butter. Luckily, we had leftover apples from a previous event so we didn't have to spend a lot of time peeling and dicing the apples. We combined the apples with liquid (usually cider but we substituted natural juices this time) in a pot and cooked them until a mushy consistency. We then ran the apples through a food mill to puree. We placed the puree in the pot with sugar, cinnamon, cardamom, lemon zest and salt, and we stirred the mixture for almost 1.5 hrs until it reached the right consistency.

Both were extremely yummy. Unfortunately no pictures this week, but hopefully in the future.

Thursday, January 27, 2011

Fondant Fancies

Last Saturday, my friend Gilly invited me over to her house for some experimental baking. For Christmas she received a cookbook of Peggy Porschen, who has a fabulous cakes business in England. If you want to see what the cookbook entails, check out the products on her website; seriously, this stuff is amazing.

Gilly wanted to try the recipe for Fondant Fancies, which are classical Petit Fours - small layered cakes, topped with marzipan, and covered in colored poured fondant and decorated. After baking the cake and making the buttercream, we layered the cake, which was roughly 8 in x 8 in.


I made the marzipan from almond paste (which Gilly had previously made) and confectioner's sugar. We next added the layer of marzipan and apricot jam, and sliced the cake into 16 squares:


We next created four different colored batches of poured fondant. The next step was to dip each square into the fondant to get a smooth coating:


And finally, we melted some chocolate to pipe designs on the top of each:


After a full day's effort, our final products like this:


Not too shabby, right? Seriously, this was an amazing day of experimental baking. Not only did we try something fairly challenging, we had a lot of fun doing so and got to practice lots of good skills. We baked and sliced a cake, we made buttercream, we made marzipan, we made the poured fondant, and we practiced our decorative piping skills. It was definitely a day well spent. And, we'll be making classical petit fours like this in class tomorrow so Gilly and I will be ready with what to expect, which is most excellent!