Wednesday, February 9, 2011

Krokant = Nougat

The Europeans call "krokant" what Americans call "nougat" which specifically refers to a product made from caramelized sugar and nuts. In this case, we also included chocolate, and in Tuesday's class, we made three different types of krokant. The Chef who instructs this course is German so this is one of the reasons why we refer to these items as "krokant."

The first type we made is called Almond Blaetterkrokant, or Almond Leaf Nougat. I honestly don't fully understand the "leaf" part of the term, so that's all I have in describing these terms. For this recipe, we melted sugar to caramelize it; sugar begins to change to a light brown color around 325 degrees F while it becomes a darker caramel around 360 degrees F; we don't actually measure this with a candy thermometer, but instead examine the color, careful not to burn it. Sugar burns are the worst burns imaginable on skin, so it's essential to be careful when working with sugar and caramel. As the sugar was heating on the stove, we warmed a marble slab and created a well with the almond/nutella mixture. The caramel was poured into the well of the almond/nutella mixture, and I used two oiled bench scrapers to quickly and carefully incorporate all three ingredients together. This mixture was then placed between two oiled pieces of parchment paper and rolled with a rolling pin to a thickness of 1 cm. After cooling, we worked to cut these into 1 inch squares which were then dipped into dark chocolate. As you can see in this photo, some of these were imprinted using a dipping fork with three lines; this is a technique used by chocolatiers to denote differences between chocolates:


The second type is called Soft Krokant. To make this, we first softened marzipan by kneading heavy cream, cinnamon, and vanilla into it. Butter, glucose and sugar were melted on the stove, again to 360 degrees F to become caramel. The caramel was poured over almonds, warmed heavy cream, and pieces of the marzipan and mixed until incorporated into a filling. Again, we rolled this between two oiled pieces of parchment paper to 1 cm thickness. Once cool, we covered one side with dark chocolate; after this set up, we cut 1 inch squares, and practiced a new technique for dipping them into dark chocolate:


The third type of nougat was Fruit Krokant. We melted the sugar again to caramel stage, which was first poured over honey and butter to incorporate. Next the mixture was poured over crushed almonds, pistachios, and walnuts, and finally, the mixture was poured over a banana compound and mixed until incorporated. Again, once cool, we covered one side with chocolate, and after it set up, we cut 2 cm x 3 cm rectangles. These were dipped in dark chocolate, but the top was left uncovered:


I wasn't overly excited about the taste of the Fruit Krokant, but the other two were absolutely delicious. And I was able to take a few (although not very great) photos of previous chocolates from class, so here's a look at some of them.

This is the photo of the mocha sticks, 1 in pieces, with mocha ganache covered in milk chocolate:


This is a photo of the Baumstaemmchen or Pistachio Aida, where baumstaemmchen = "tree trunk", with pistachio marzipan over nutella ganache and covered in dark chocolate:


This is a photo of Nougat Montelimar, with almond/pistachio nougat covered in dark chocolate:


I think next week is our final week on chocolates. On one hand, this is good because I am in chocolate overload. Like I wrote about earlier, the pace of this class is crazy in terms of production, and after four weeks, the monotonous nature of it in general seems to have run its course. I also feel like I eat way too many of these in terms of sampling during class and so my body is ready for a break. On the other hand, I do really enjoy the chocolate process, and it has been great to learn so many different techniques for various fillings and coatings. I feel confident that I've learned a great deal that I could produce chocolates at home in a professional manner, so that's definitely exciting.

Monday, February 7, 2011

Strawberry Jam & Cheesecake

In today's Jams and Jellies class, we made three different strawberry jams as well as cheesecakes. We started class by making the cheesecakes. For the crust, we crushed gingersnaps and added melted butter, sugar, and a pinch of salt. After combining the mixture we pressed the crust into mini tart pans. We then sliced strawberries thinly and arranged them on top of the crust. Finally we prepared the filling.

The key to a successful cheesecake filling is having room temperature, softened cream cheese. This ensures there are no lumps in the final product. Using a mixer and a paddle attachment, we creamed the cream cheese until smooth, scraping down the sides often to ensure no lumps. We next added in ricotta cheese and sour cream, again creaming until smooth. Then we added whole eggs, one at a time, being careful to fully incorporate each egg and scraping the sides often. Finally, we added sugar and the seeds from one vanilla bean. We had a cheesecake filling that was smooth; I loved the look of the vanilla bean evenly spread throughout the filling.

We portioned the filling over the layer of strawberries, ensured the tops were smooth, and placed these in the oven to bake. Next, we worked on our strawberry jam.

My group made our strawberry jam using the homemade apple pectin we had previously made in class. We diced strawberries and added them to the pot with the apple pectin, sugar, and lemon juice. We cooked this until it thickened; unfortunately, our jam took a long time to set, and it ended up being slightly overdone but it tasted delicious, particularly with the hint of apple.

Another group made strawberry jam using liquid pectin. They had to crush their strawberries which were added to the pot with sugar, lemon juice, and later the liquid pectin. This jam resulted in a much sweeter jam than ours, due to the use of the liquid pectin.


The third group made strawberry jam with the addition of balsamic vinegar and crushed black pepper. I really liked the taste of this, but would have liked even more black pepper. We spread a thin layer of this strawberry jam on our cheesecakes, and then were free to decorate them to our liking.


I really like the structure of this course, and the fact that we work on similar products but with differing components. It's interesting to sample three types of strawberry jam and compare them. Even though my group's was slightly overdone I preferred the flavor of it to the jam made with liquid pectin. An advantage of using liquid pectin though is that it can save time during the cooking process because it gels more quickly, so it all depends on what you may be looking for in your production or final product. I really liked the jam with balsamic vinegar and pepper - it's also interesting to see different flavor profiles. And in general, I really love making these smaller sized desserts; it gives me more practice then just making one large product, and I like the challenge of experimenting with the decoration. It was especially great to see that each member of the class came up with an entirely different cheesecake - some covered their sides in crushed gingersnaps while others used strawberries as decorations in various ways. Like I said, overall, this provides a really great structure to the class, which I find enjoyable.

Saturday, February 5, 2011

Friday, February 4, 2011

Classical Petit Fours

In today's Petit Fours class, we finished our work on classical petit fours, which we began last week. We also made tuiles and financiers. Tuiles are a thin cookie made from chopped almonds, orange juice and orange zest. These bake thin and spread flat and are then rolled over forms into various shapes. Financiers are a piped cake made from brown butter and almond flour, baked in a mold.

This is a photo of the Petit Four Glaces, which has a layer of almond/vanilla biscuit (which is a thin sponge cake), a layer of apricot marmalade, another layer of biscuit, a layer of marzipan, a coating of poured fondant, and a piped chocolate decoration.


We plated these with the remainder of our petit fours.


The left-most row contains the Pyramide de Petit Four Glaces (almond bicuit, chocolate buttercream, vanilla buttercream, and raspberry buttercream, covered in chocolate) and tuiles. The next row contains the Petit Four Glaces. The middle row contains the opera cake (which contains from the bottom up: cake layer, coffee flavored simple syrup, chocolate ganache, cake layer, coffee flavored simple syrup, coffee buttercream, cake layer, coffee flavored simple syrup, vanilla buttercream, cake layer, simple syrup, chocolate coating). The next row contains the Dome de Petit Four Glaces (which have Gran Marnier buttercream, poured fondant, and piped chocolate striping). The last row contains the financiers and tuiles.


Custards

In Tuesday's Advanced Bakeshop class, we made various types of custards in different applications. The first thing we made was a standard classical cheesecake, which is a form of a baked custard.

The second thing we made was an Apple Jacks panna cotta. This was done by first toasting and steeping the Apple Jacks cereal for 45 minutes in cream and milk. After steeping, the liquid was heated with salt, sugar, and gelatin to achieve the right consistency. This was divided into serving glasses and put in the refrigerator to chill. We also caramelized Apple Jacks cereal for garnish.

We next made a white chocolate creme brulee with earl grey tea as an additional flavoring. After steeping the tea in cream, sugar, and salt, we reheated the mixture to melt the white chocolate. This was then used to temper the egg yolks with sugar. These were baked in a water bath. We froze these; next week we will finish them and I'll take a picture of the final product.

Finally, we made a Gran Marnier Souffle. This was made from freshly squeezed oranges and orange zest and Gran Marnier for flavor.

Thursday, February 3, 2011

Mocha Sticks, Pistachio Aida, Nougat Montelimar

In Tuesday's Candies & Confectionaries class, we continued our production of various chocolates, making three different kinds. To make Mocha Sticks, we prepared a ganache that was chilled and then piped into thick round logs on parchment paper. After chilling again, we tempered milk chocolate and brushed the logs with milk chocolate, which then looked like real logs. After setting, we cut the logs into 1 inch pieces, which were then dipped into milk chocolate and dusted with powdered sugar.

To make Pistachio Aida, or Baumstaemmchen, we made a nutella flavored ganache, which was chilled and then piped into thick rounds logs on parchment paper. We then prepared pistachio marzipan, which was rolled over the ganache logs. These were also brushed with tempered dark chocolate and cut into 1 inch pieces.

To make Nougat Montelimar, we first prepared the nougat. Honey, water and sugar were heated to 266 degrees F on the stove, while egg whites were whipped with sugar in a mixer. The honey/water/sugar mixture was poured into the egg white mixture, then placed on the stove over a water bath. This mixture was whisked furiously for 25 to 30 minutes, which was quite a workout. Chef was not impressed with my whisking skills, but seriously, I was working as fast and as hard as possible; the mixture was quite thick. After the moisture was reduced, this was spread over crushed almonds and pistachios, and the whole mixture was placed between two pieces of oiled parchment paper and rolled to 1 cm thick. Once it was set up, a layer of chocolate was brushed on one side, then the nougat was cut into 1 inch squares. The squares were dipped into chocolate, but the nougat was left exposed on top.

All in all, another fast-paced high production day of chocolates. And again, there wasn't a chance for me to take any photos. Next week, I may possibly purchase some of them to bring home, and then I'll be able to take photos at my leisure.

We also spent the last 30 minutes of class practicing piping the ornaments with royal icing. Chef demonstrated this last week. His looked like this:


So each of these in actuality is 1.25 inches thick, give or take, and extremely thin. It requires the right size tiny hole in a pastry bag made from parchment paper. I spent a few hours over the past two days practicing, and I can easily say this is one of the hardest things I've yet to experience in school. My midterm exam in based on this piping in a few weeks. I'll be spending many hours practicing.

Sweet Potato Butter & Apple Galette

During Monday's Jams & Jellies class, we first worked on homemade apple pectin. We did this by quartering apples, including the peels and cores, and bringing them to a boil with water and lemon juice. When the apples broke down, we strained them to save the liquids. We then set up a jarring station, and followed the steps for sanitizing jars and then filling them appropriately with the homemade apple pectin. The hope is that we can use this natural pectin in future recipes.


We then made sweet potato butter, using a similar process as last week's apple butter. We first baked the sweet potatoes until they were soft, and then we pureed them. We added the necessary spices and cooked the butter until the appropriate texture and color.

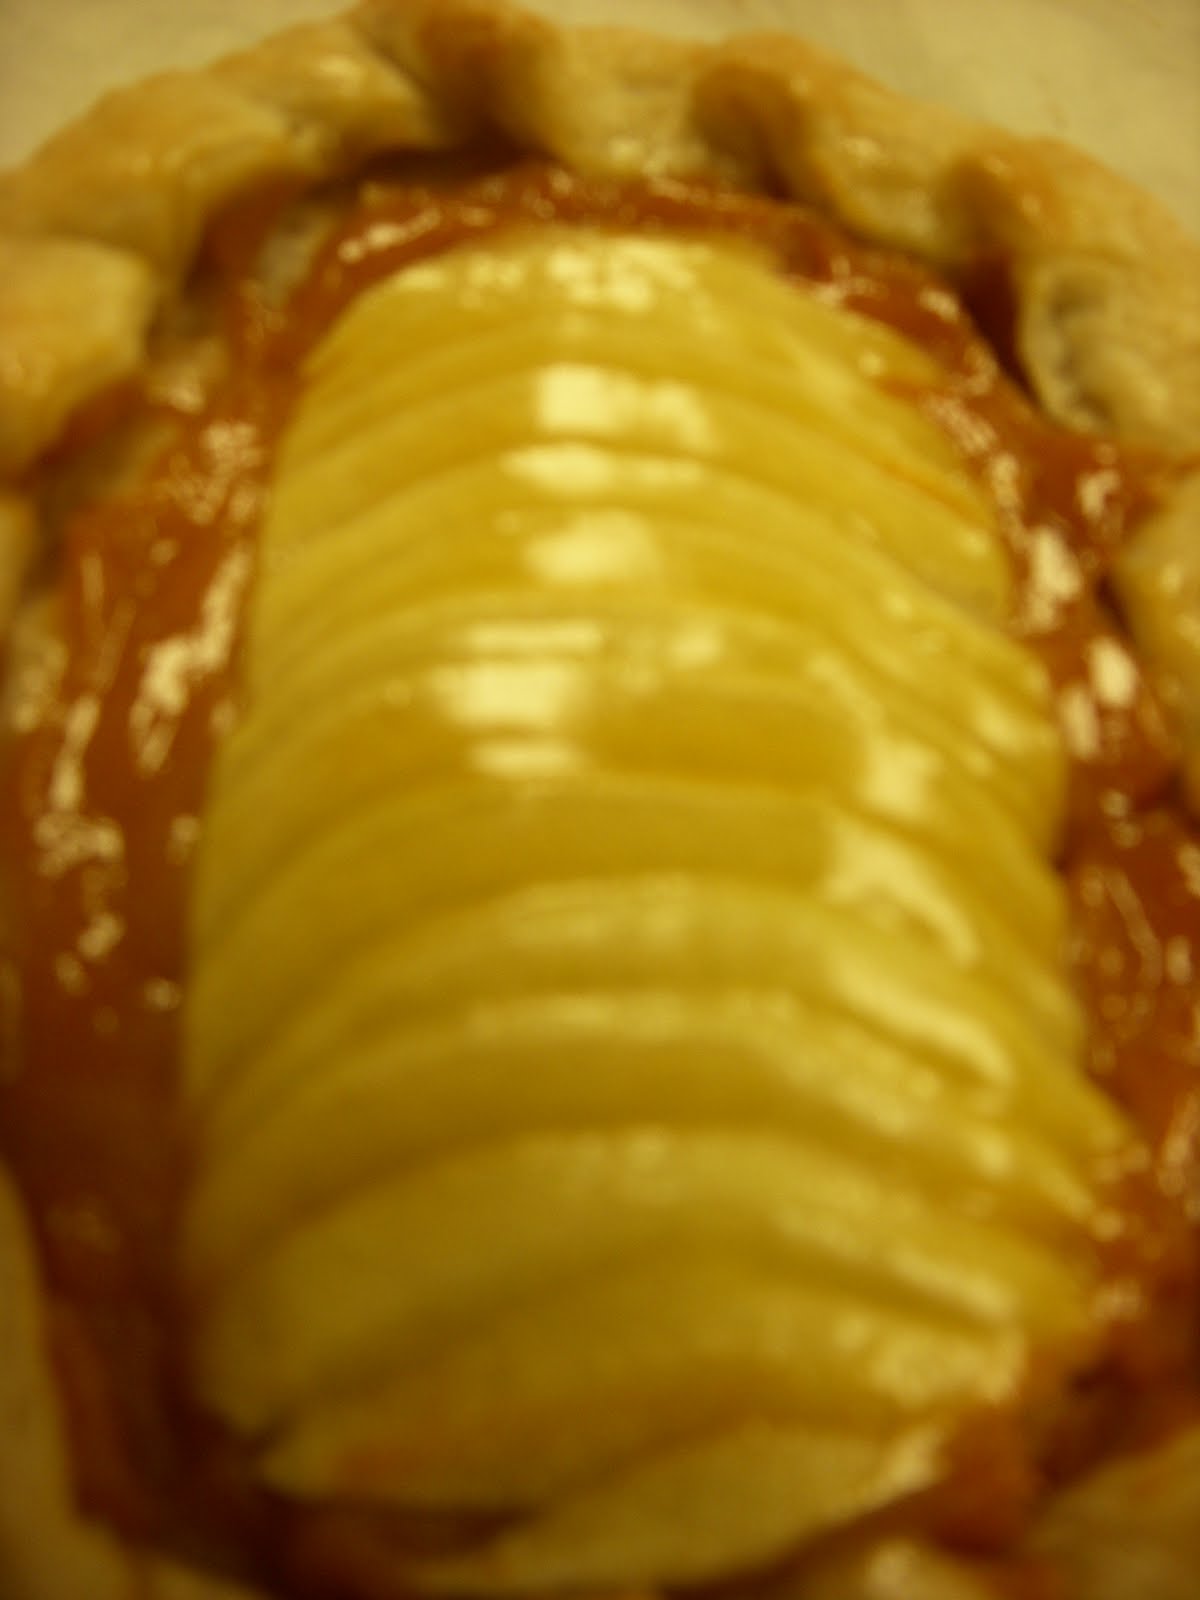
Finally, we prepared a cornmeal galette dough. This is similar to any type of pie or tart dough. A galette is a free formed tart. We cut the dough into circles, spread on sweet potato butter and finally placed sliced apples on topped. These were baked and finished with an glaze made from apricot marmalade.